

Tired of losing buyers to fees? Use these tactics—transparent pricing, smart promos, fast checkout, and better entry ops—to keep conversions high and costs low.

PCI compliance keeps payment data safe—and conversions high. Learn what it means for event organizers and which questions to ask your ticketing provider.

Evaluating ticketing software with reserved seating? Use this checklist—seat maps, promos, access control, and reporting—to choose the right platform for your venue.

Here’s the easiest, most affordable way to switch from hard tickets to online ticket sales—pricing, promos, scanning, and marketing in one playbook.

Unsure whether to switch ticketing providers? Use this checklist to spot deal-breakers and see what a modern platform should deliver for small and mid-size venues.
See why integrated small venue ticketing software turns audience data into smarter marketing, stronger fundraising, and sponsor‑ready reporting with iTickets.

Upgrade your community theater with box office ticketing software that offers seating charts, subscriptions, and integrated marketing. Discover 4 must‑have features.

Compare the best ticketing platforms for music venues in 2025. See why iTickets leads with mobile checkout, dynamic pricing, and night‑of‑show support.

Discover the features that truly matter in a ticketing platform—mobile checkout, seating, marketing, RFID, analytics—and see how iTickets delivers them all.

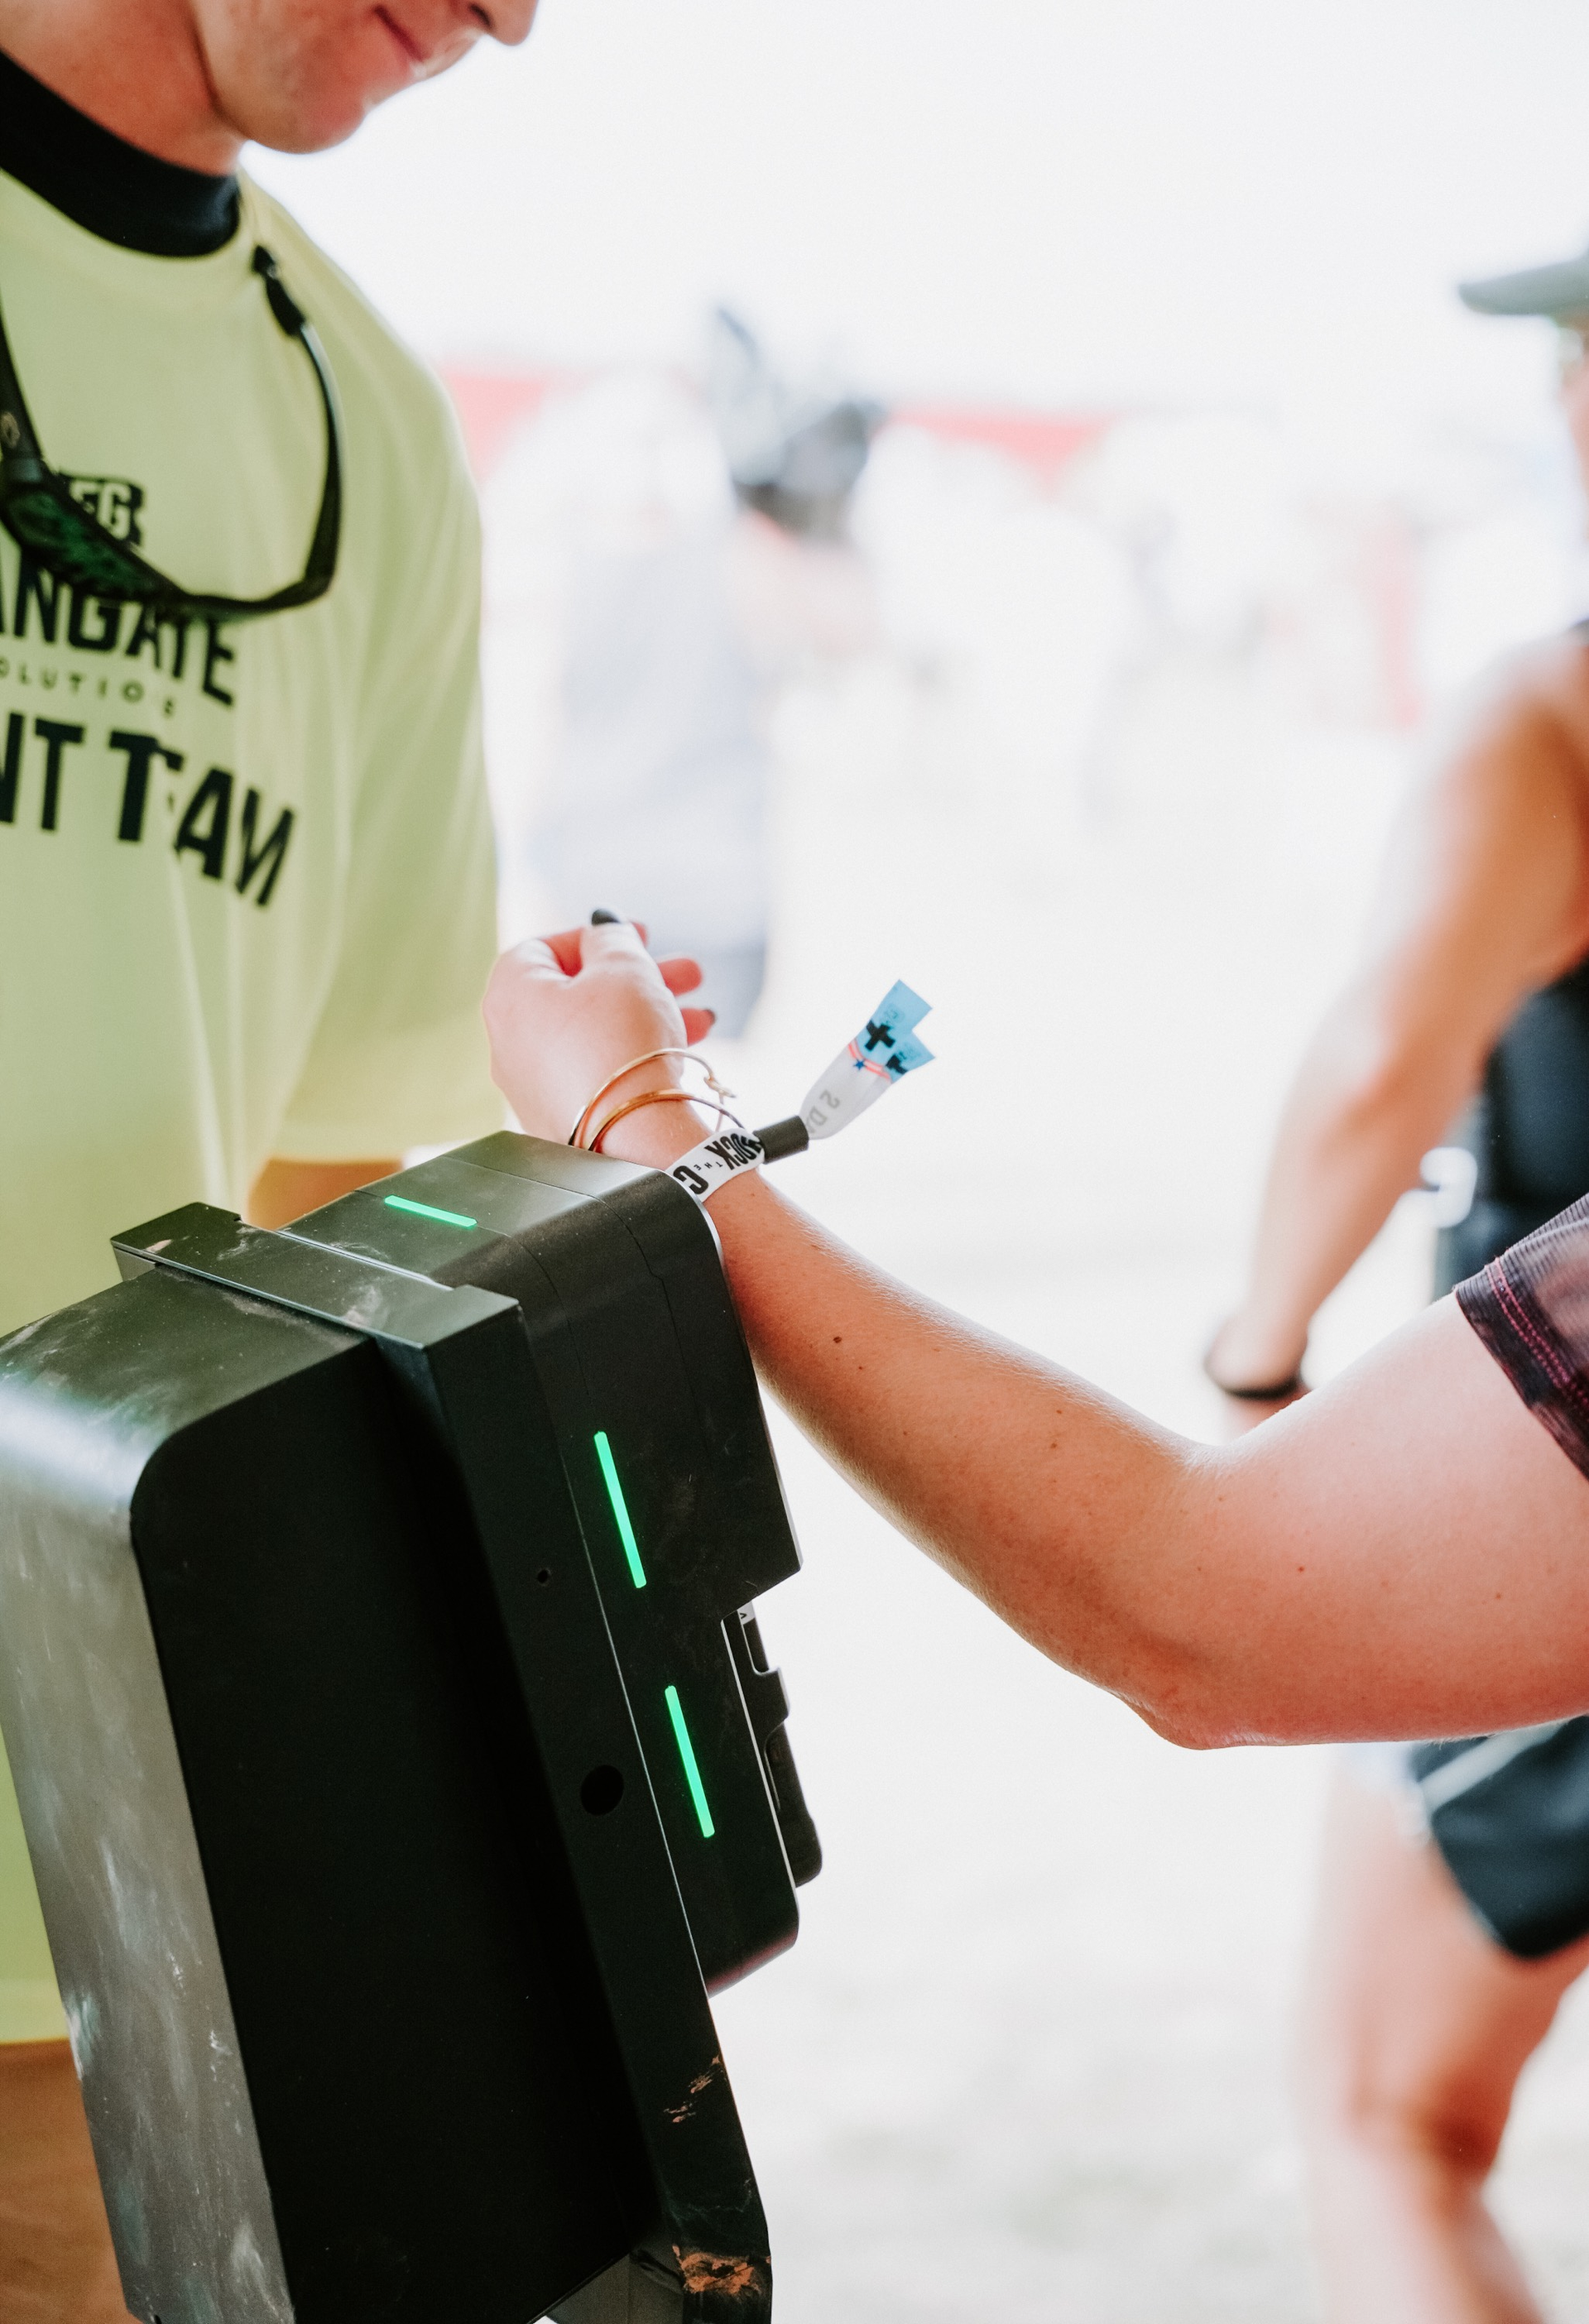
Explore essential features every festival ticketing platform needs—like mobile entry, RFID wristbands, and real-time data—to enhance your on-site experience.
